Wheely King - Rock Crawler Conversion Phase 1
RC rock crawling
has really taken off in popularity around the world, and it's
gaining fans across the UK and Europe. Many enthusiasts are off
building custom rigs specially designed to maneuver the complex
courses and challenges of a typical Rock Wall. As many of you know,
the Wheely King is a fun vehicle to drive. What many of you may not
know (Although we're hearing through the grapevine that many
crawlers use parts from the WK) is the Wheely King's potential to
be converted into a competition crawler relatively cheap. We're
here to help you do just that. With a few steps, and some
materials, we're going to show you how to convert your Wheely King
into a Crawler King.

Conversion Phase 1
Pre-Build Considerations
Make sure you
start with a clean work area (Or Crawl Space!). Having a clean work
area helps you keep track of the little parts (there are lots of
them!). Use a towel or work mat to keep things tidy. We start off
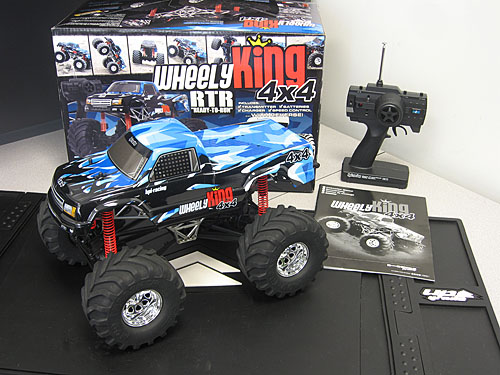
with a Wheely King 4x4 RTR right out of the box. In Phase 1, we'll
be making some changes to the drivetrain and suspension. Be
prepared to set aside a block of about 3 hours for this project.
Before we get started, you'll need to pick up a few parts. Most of
these parts can easily be found at your local hardware supply store
or hobby shop. Our goal was to keep this project as low budget as
possible and still come up with a decent rig.
- HPI #82008 Driveline (x1)
- HPI #82009 Driveline (x1)
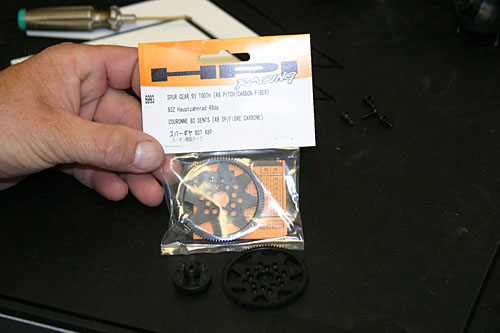
- HPI #6996 96t Spur (x1)
- HPI #6915 15t Pinion (x1)
- HPI #86059 Balls (x2)
- HPI #85230 Rod Ends (x2)
- 2-part 5-minute
epoxy/resin mix (x1)
- 6-40 threaded
rod (also called threaded studding or continuously threaded rod)
(x1) - about 2.9mm
- 12" 4-40
threaded rod (x1) - about 2.5mm diameter, 30cm long
- 3031 1/4 x .049
Round Tube (K&S) (x2) - about 6.4mm (outer diameter) x 1.2mm (inner
diameter)
- 4-40 Lock Nuts
(x2) - or lock nuts to fit the metric threaded rod you have
Digging In
To start, remove the body from the chassis and
give it a once over. Make sure you familiarize yourself with the
contents of the box; Truck, manual, controller, etc...
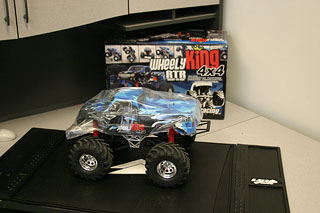
Remove the wheels and tyres. Don't get rid of
them yet, Stage 1 uses stock wheels and tyres so we'll be putting
them back on later.
It's not enough to stress the importance of a
neat work area while you're doing this. When you remove a part,
keep it with other similar parts. When you remove the shocks, keep
all four next to each other. Just be sure to keep everything
organized while you're working.
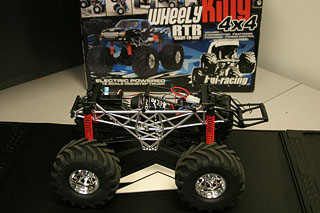
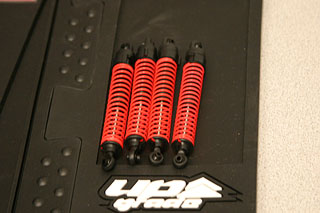
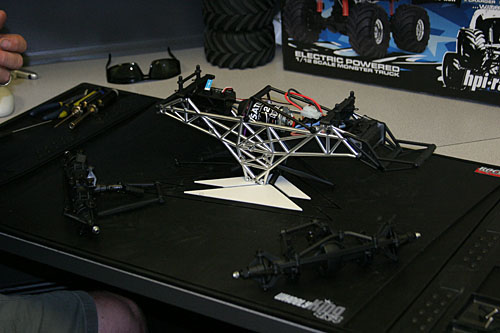
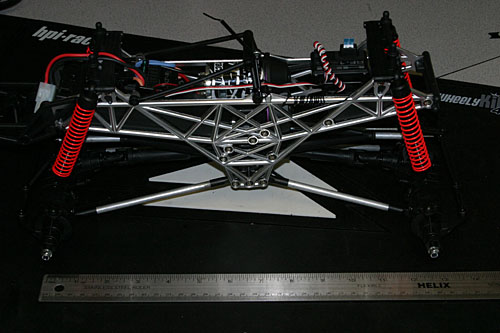
Remove all four shocks from the Wheely King so
it looks like this.
Time to remove the rear sway bar. This will
take about a minute as there's only four screws to take out. This
will eliminate the roll reduction, but this will give us that much
needed articulation for a crawler.
We will not be using the rear brace for
anything. Feel free to do what you want with it.
The suspension is already looking pretty good.
The articulation achievable from a stock Wheely King is a nice
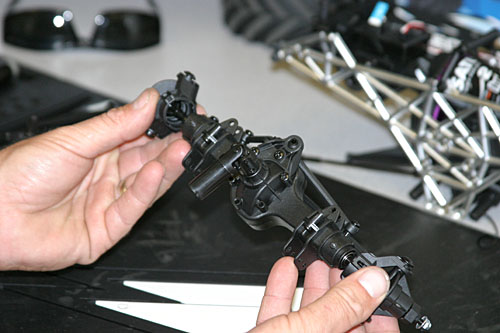
hidden feature. The next thing we'll do is remove the front and
rear axles in preparation for locking the diffs.
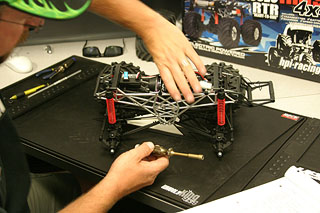
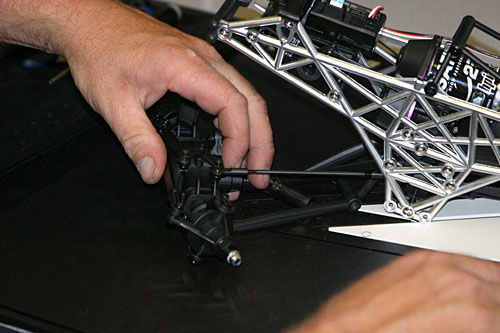
Alright, so it's time to remove the front and
rear suspension. We'll be replacing these with custom ones built
from the threaded rod, aluminium tubing and extra Rod Ends we
picked up for the project.
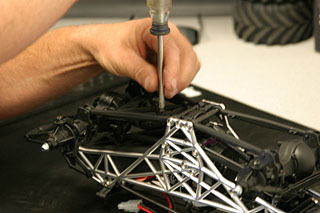
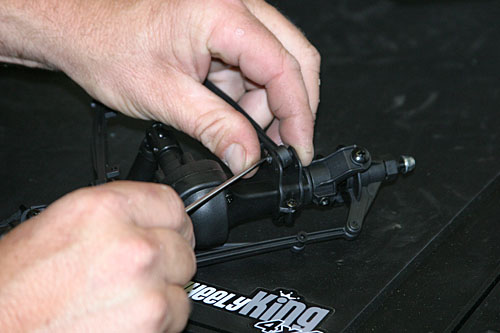
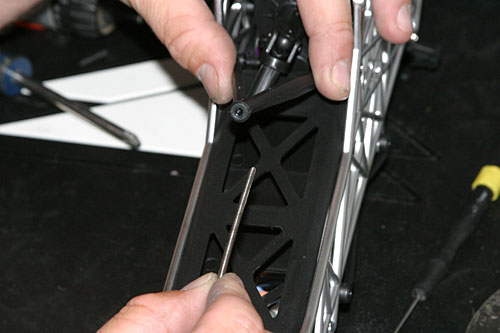
Placing a small screwdriver in the center hole
of the link helps keep it from turning.
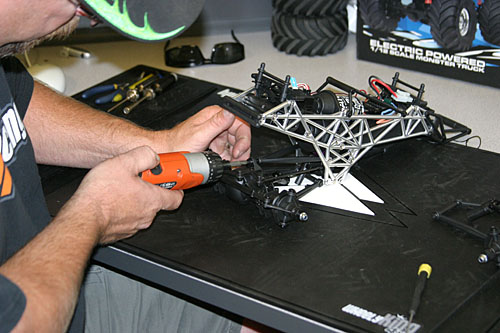
Using an electric screwdriver helps things move
much faster.
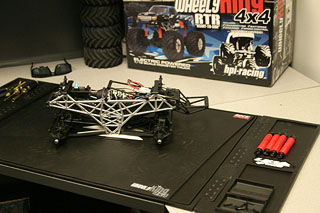
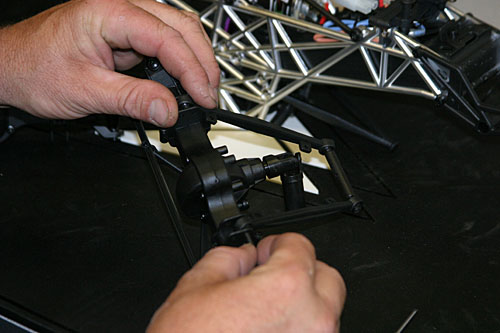
Disassemble the steering and remove the front
and rear axles. Your truck should now be in three major pieces: The
main chassis, front and rear axles with the shocks waiting
patiently to the side.
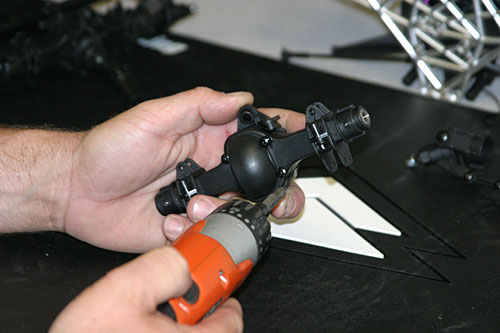
Axle Disassembly
Next step is to disassemble both axles. The
axles are the same on the front and back, so the instructions are
the same for both.
When you're removing the linkage, keep an eye
on the e-clips. They're hard to find when they go zooming across
the room... You should be wearing eye protection already, but make
sure you wear them during this step.
Slide out the pins from the linkage and set
them aside (Keep them together though! They're tiny!)
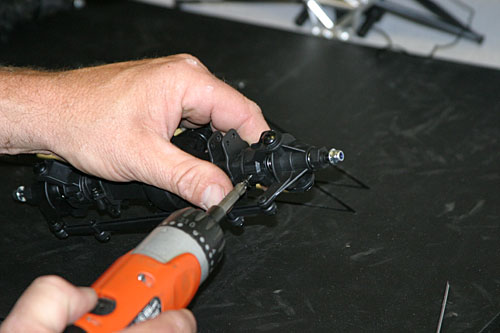
The next step is removing the C Hub. Remove all
four by unscrewing the front and rear screw from the housing.
There are two screws per side, so don't forget
to take the other ones out.
The hubs will slide apart at this point.
Locking the Diff
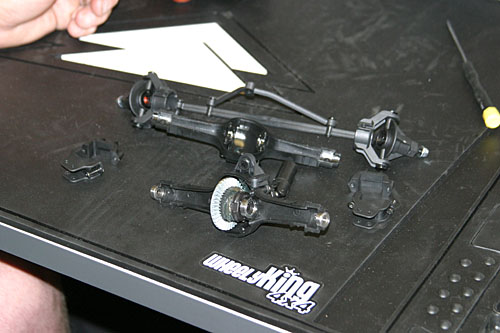
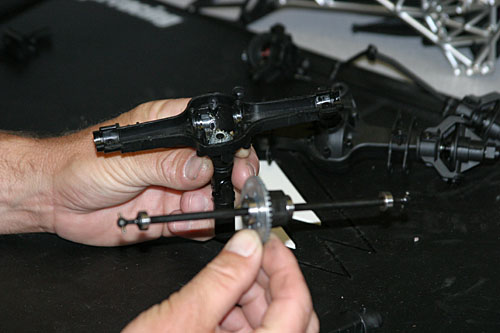
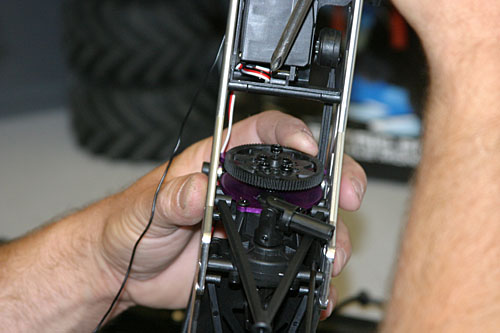
Now we need to disassemble the differential so
we can lock it. Start by removing the four screws holding the diff
case together. Do this to both sides and your axles should look
something like this now:
Now that we have the differential out, it too
needs to be taken apart. We're going to clean the grease out and
replace it with a two part epoxy, or other hardening material. The
idea is to restrict all diff movement so the wheels won't spin if
you're in a tight spot and have a wheel stuck.
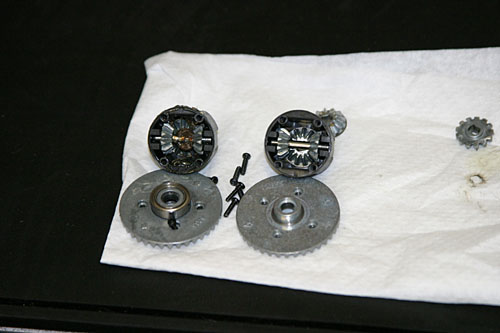
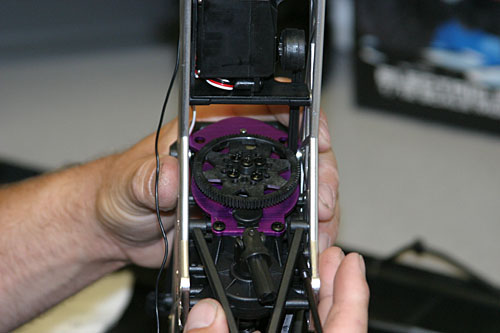
We've cleaned all the grease out of the one on
the right. That's how it should look before moving on. Put the
gears back in except for the gear that sits against the drive gear.
Set it aside for now.

We're using a two part epoxy putty for ours. Be
sure to mend or knead the compounds well enough that the chemical
reaction starts.
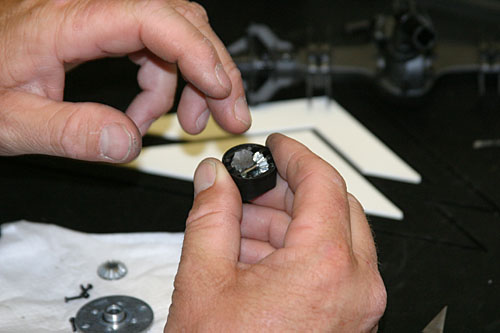
Pack it in to the gears well. You want to keep
them from moving at all.
The easiest way I've found is by making small
balls and pushing them in on both sides.
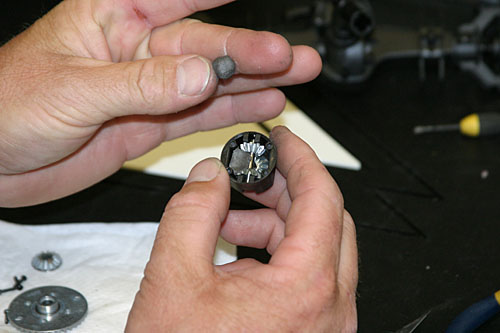
 Add one more on the top.
Now press the gear you took out onto the top of
all of it.
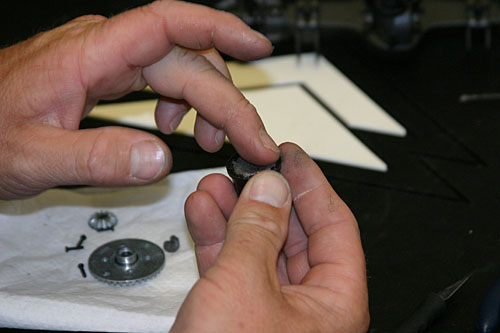
Reassemble the diff. Let it set up for a couple
minutes then check it. You should NOT be able to alternately rotate
the drive shafts.
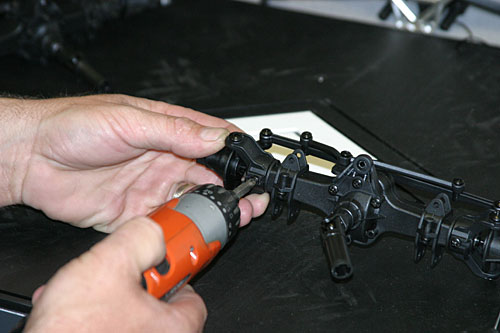
Put the diffs and axles back together.
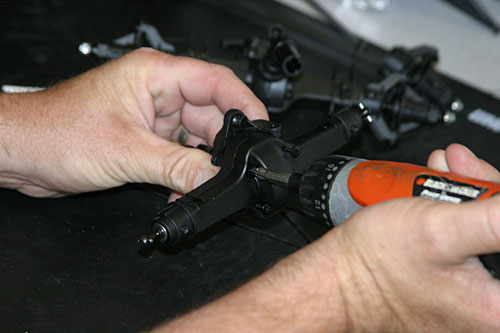
Again, electric tools make life easier.

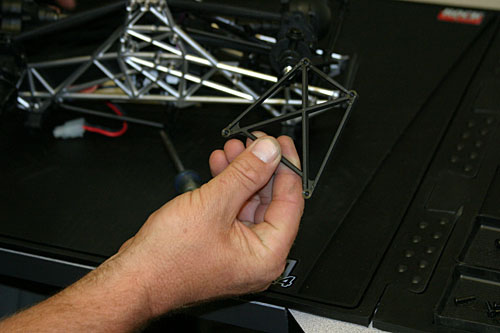
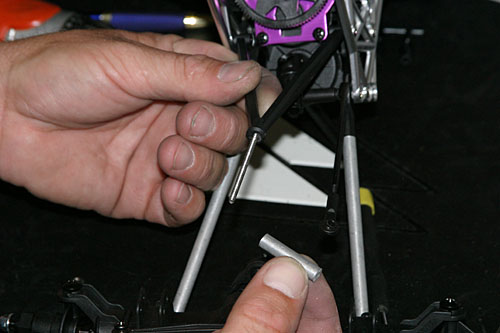
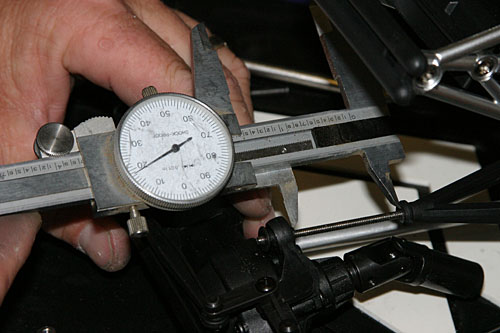
Build the shafts by cutting the aluminium
tubing and threaded rod to the lengths shown in the photos.
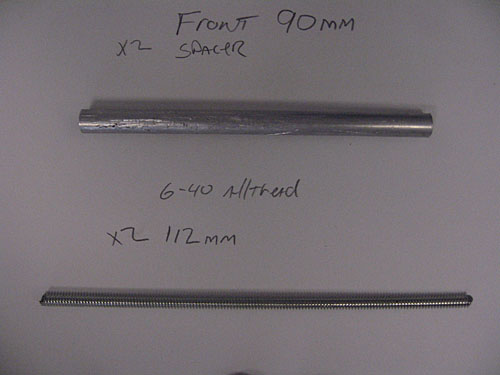
Make two of these for the front.
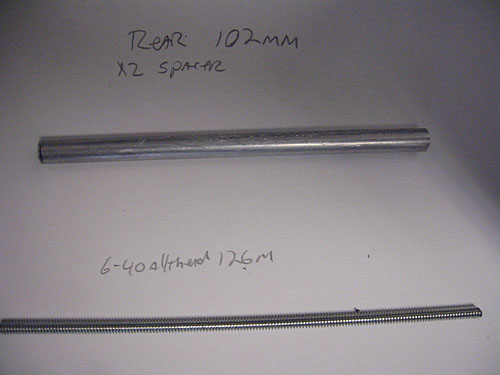
And two of these for the rear.
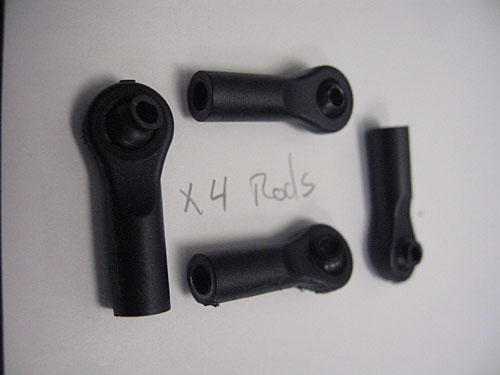
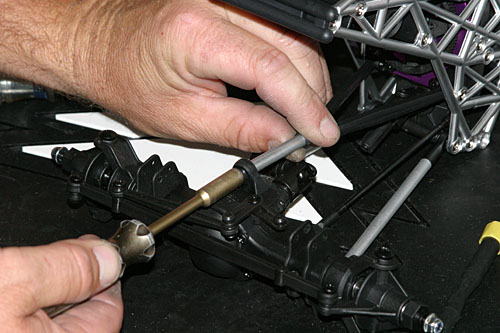
You'll be inserting the threaded rod into the
ball ends.

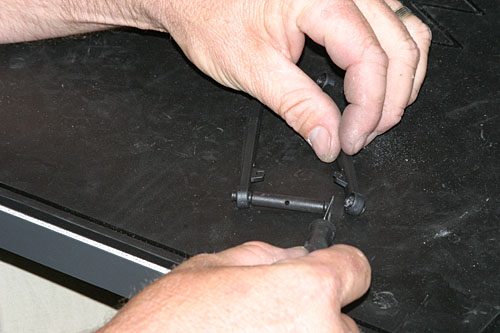
Once you've made all your cuts, screw one end
of the threaded rod into a rod end until it's snug. Slide the cut
aluminium tube over the threaded rod and screw the other rod end on
until the whole assembly is nice and tight.
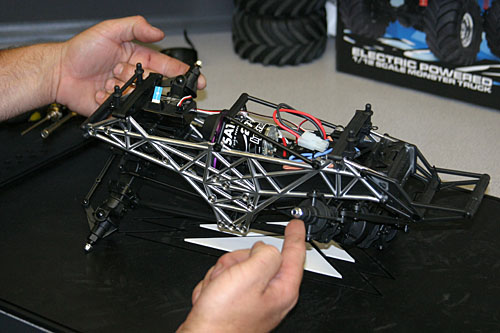
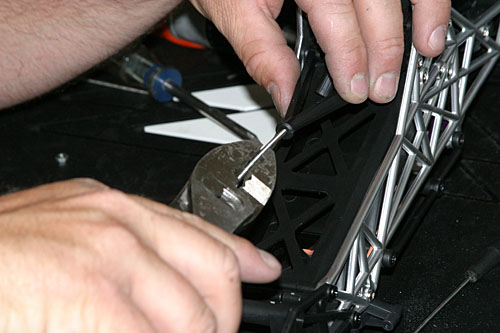
Next, cut the link between the suspension arms
and keep the link.
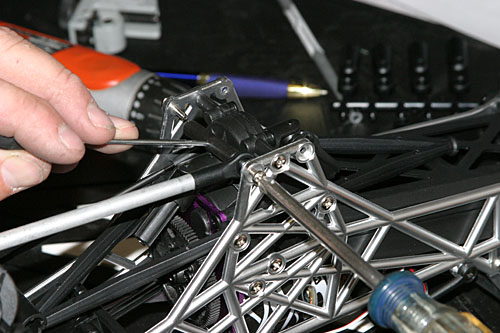
Screw in the new rod ends to the chassis with
the link between them. You may have to use small washers as spacers
for this step.
Then slide the pins and e-clips back in
place.

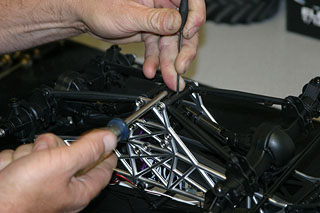
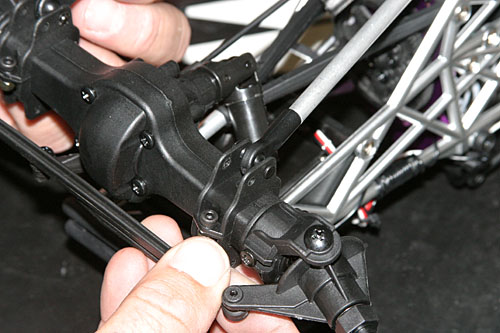
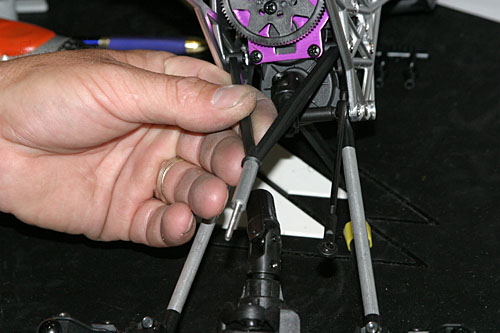
Next, we'll be lengthening the top link with
another threaded rod/aluminium tube assembly. For this application,
use the thinner 4-40 threaded rod. Cut the front to 28mm and the
rear to 37mm.
Use the 4-40 threaded rod for this.
Use pliers or double nutting for this. Do not
over tighten this.
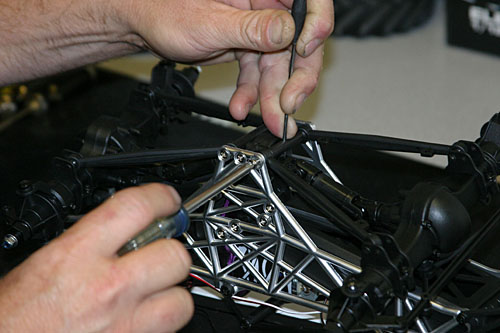
Install the spacer
Varying the length of the spacers allows you to
make camber adjustments.
Use a lock nut to secure the top link in
place.
Suspension Reassembly
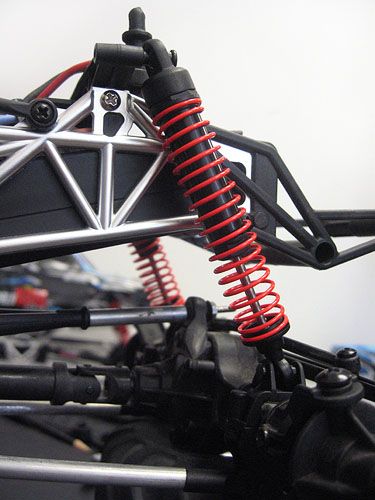
Ok, time to put the shocks back on. Install the
pins and e-clips into the bottom of the shock.
 Then mount the upper and lower parts of the shock in
the stock location.
Then mount the upper and lower parts of the shock in
the stock location. 
We're done with this part.
Drivetrain
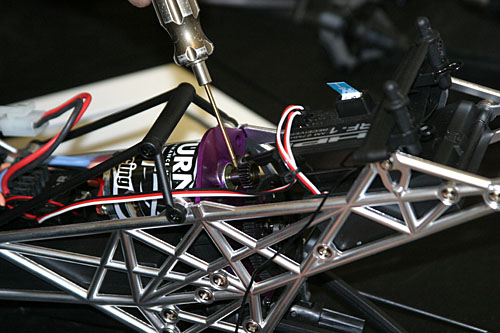
In order to get that low end torque from the
stock motor, we're going to be swapping out the pinion and spur
gears. The pinion will be moving from a 21t gear to a 15t gear. The
spur gear is going to be taken up to a 96t gear, up from the 90t
stock gear.
 Remove the center bolt. Be careful not to lose the pin.
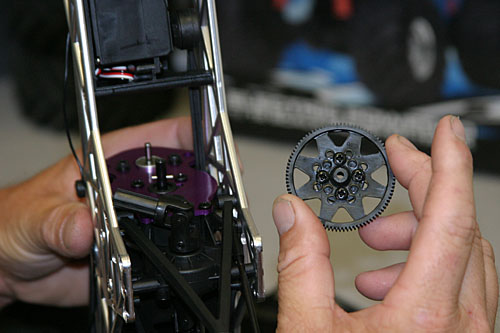
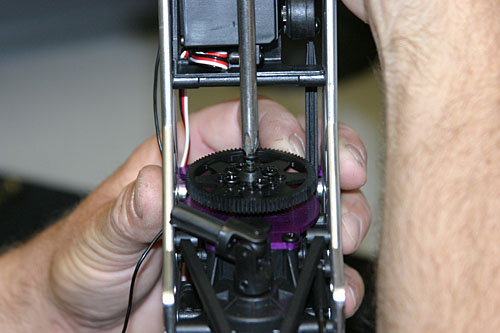
Remove the four screws from the Spur
gear.
Then reinstall everything and reset the gear
mesh. This part's done.

Due to the longer suspension, we now need to
swap out the stock drive shafts with the stock E-Savage drive
shafts. Part #82009 for the front and
#82008 for the rear. The rear drive
axle will have to be cut down 13mm to fit on the rear of the truck.
It is a little to long , make sure to keep it a clean cut to let it
slide.
Finishing Up
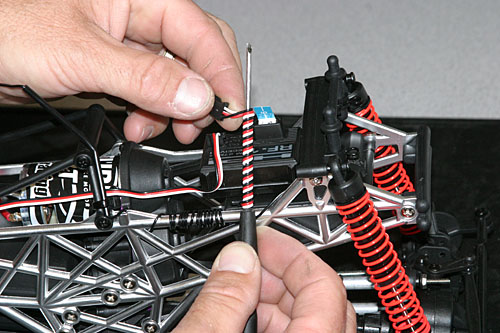
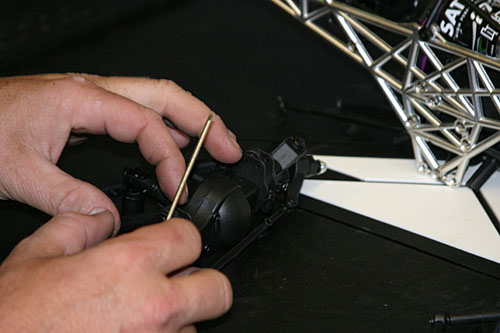
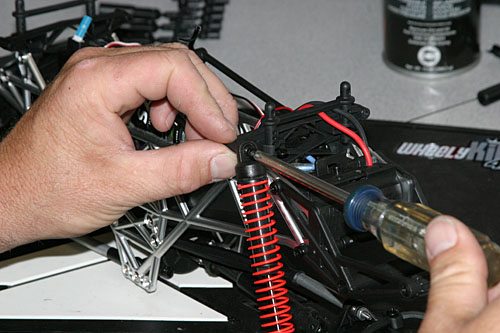
These last steps are just a few finishing
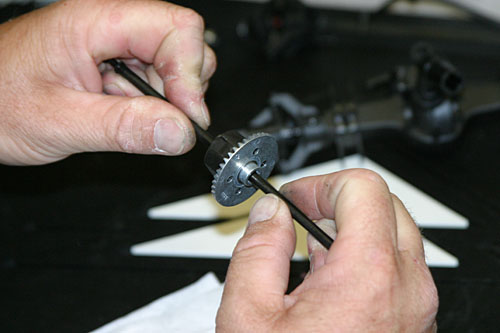
touches that will help you keep the rig in good working order. I
tend to wrap the servo wire around a small screw driver. This will
keep it wound tight and out of the way.
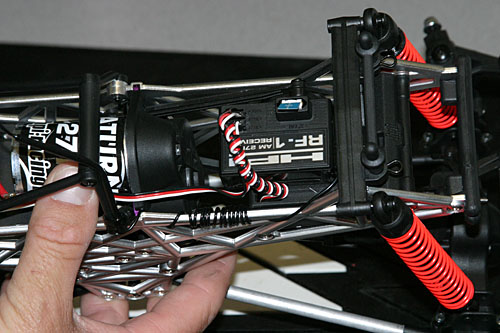
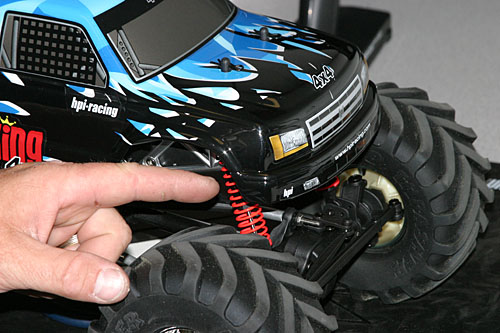
Also, wrap the ant. wire around the chassis and
use a small ant. tube to keep it under the body.
12.5 inches is legal length for the 2.2 class
in American rock crawling.

The last step is to install the radio aerial
and batteries.
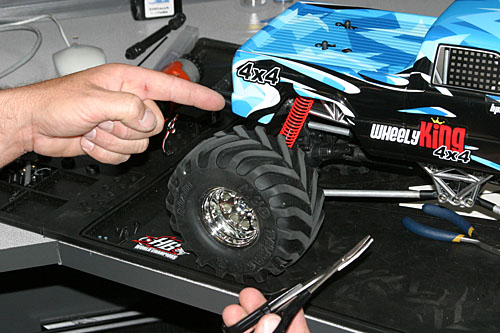
There are a few modifications that need to be
done to the body so it will have the clearance of a competition
class crawler. This can easily be done with a pair of curved
scissors.
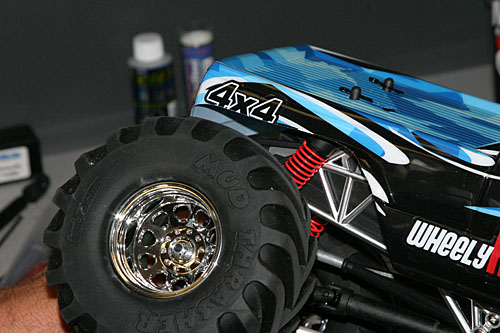
When you've trimmed the body, move the tyres up
and down to make sure they've got enough room to move.
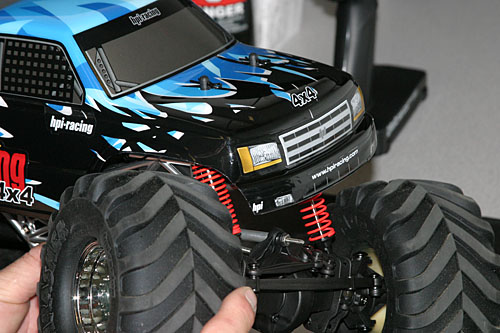
The front is the same. Trim and check for
clearance.
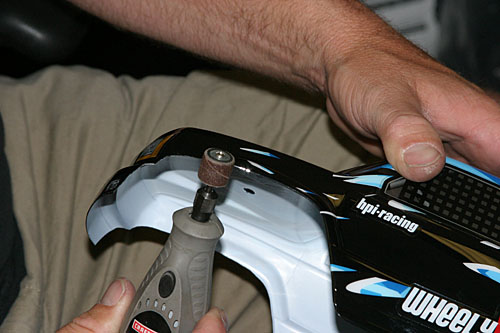
The last few steps are clean up and light
modification to help the crawler get up and over tough spaces with
a body on. Clean up the trimming as best you can. Keeping the body
clear of the tyres will make for a smoother ride over the
rocks.
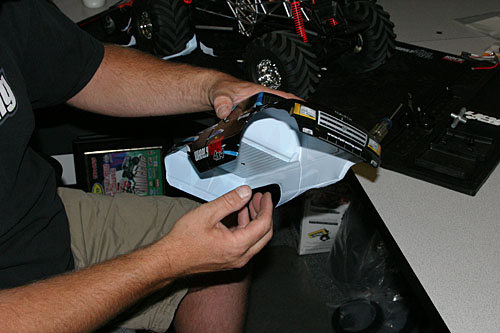
Folding the bottom of the body will give you
more clearance for those tight sections.

Install the front tyres backward for more
traction.
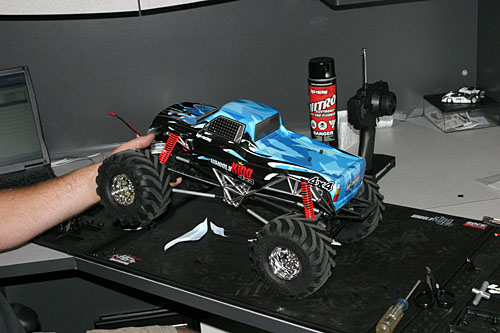
That's it, you're ready to crawl!
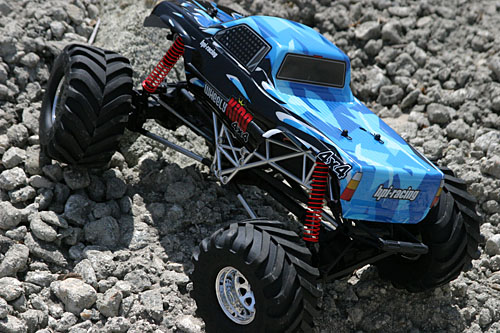
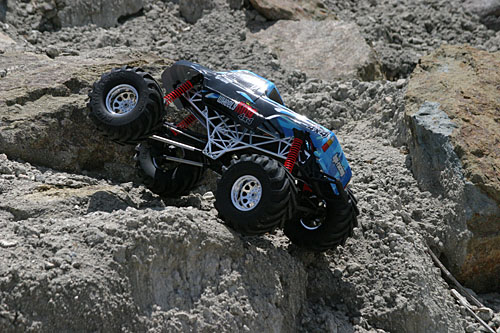
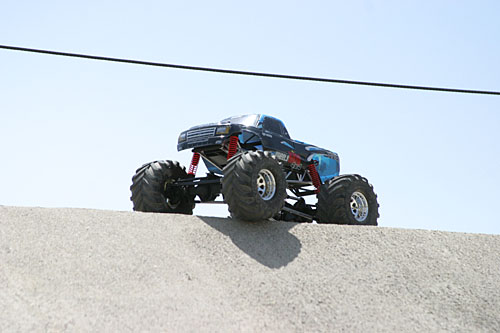
Test Run

With the stock tyres, the truck climbs very
well.
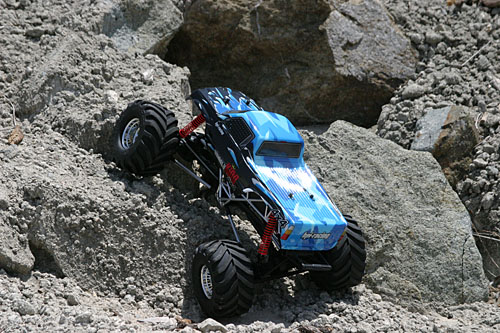
Taking each obstacle one at a time.
Picking your line.
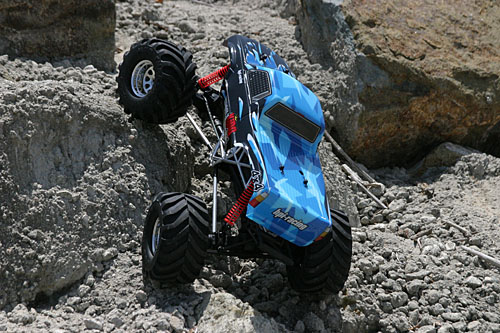
Pushing the truck, pushing yourself.
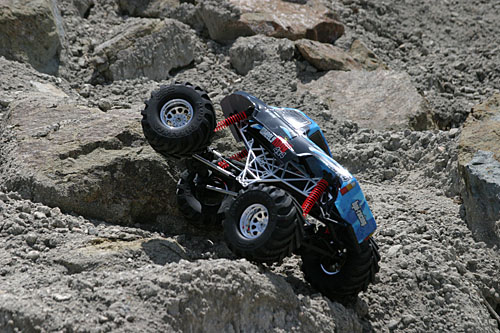
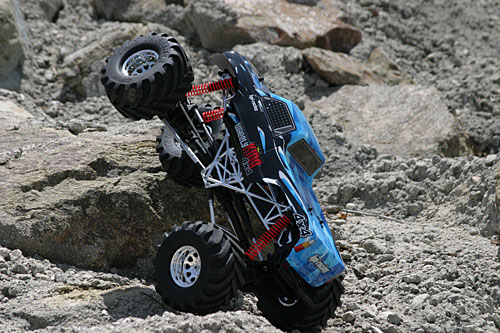
Making it... Or... Not...
Watching the truck work over rock is
AWESOME!
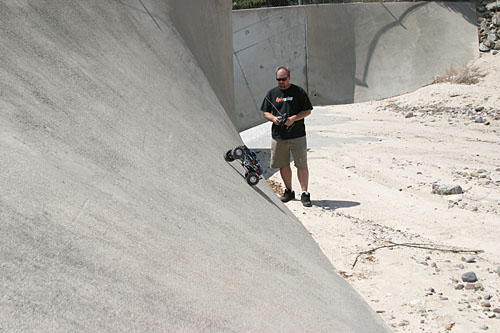
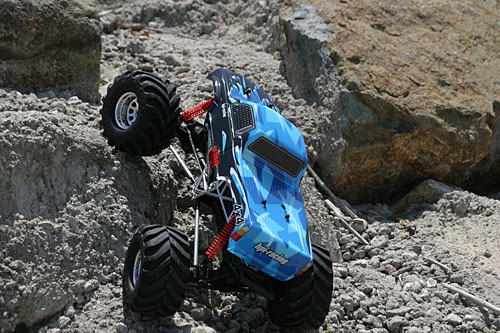
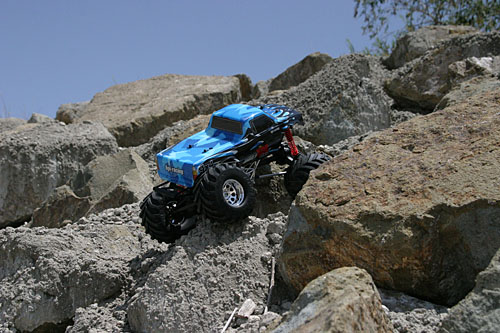
I use a steep incline to help me adjust the
suspension.
Very good day!
Well that's basically it! For a low price you
can convert your Wheely King into our stage 1 Rock Crawler.